
I still remember the first time I had to program a Panasonic PBX system. I was staring at a digital key telephone, a thick manual, and a tangle of cables. I accidentally reset the system twice and erased half of the company’s extension numbers.
It was a disaster. But over the years, I mastered the process. Today, setting up a PBX (Private Branch Exchange) is straightforward if you understand the fundamental logic.
In this guide, I will walk you through how to set up a PBX system, from the physical wiring to programming the Panasonic TDA/TDE/NS series. This is the exact process I use for small business installations.
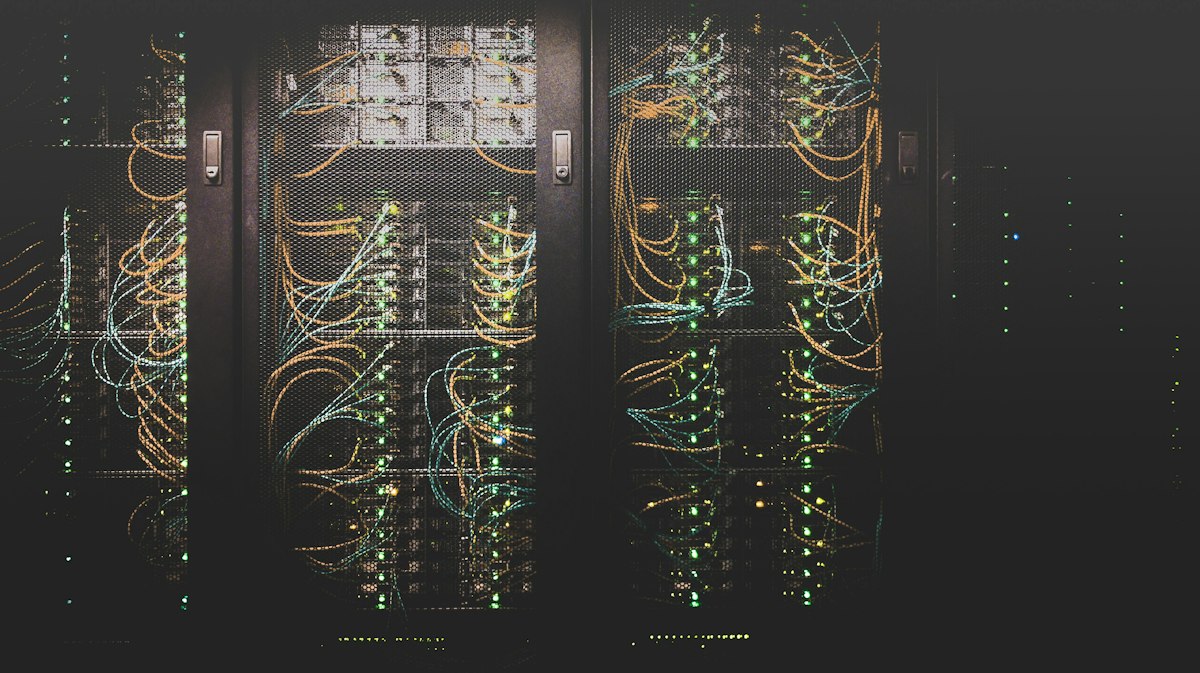
Part 1: The Physical Installation (The Basics)
Before you touch the software, you need to get the wiring right. The installation process is divided into two parts: Cabling and Equipment.
1. Cabling and Wiring
You need to run telephone cables from the Main Distribution Frame (MDF) to the extension points.
- Pair: The basic unit of telephone wiring. One pair consists of two wires.
- ITC (Indoor Telephone Cable): Used inside buildings (walls, ceilings).
- OTC (Outdoor Telephone Cable): Used outside buildings, typically protected with jelly and steel armor.
Pro Tip: When wiring terminal boxes, follow the BOHCA color code (Blue, Orange, Green, Brown, Slate) to avoid confusion.
2. Connecting to the PBX
Most modern PBX systems (like the Panasonic TDA series) use an Amphenol 25-pair connector or RJ61. If you are connecting a standard Single Line Telephone (SLT) to a wall socket, you only need to use the middle two pins (Pin 3 and Pin 4).
Part 2: Programming the Panasonic TDA/TDE Series
This is where most people get stuck. To program a Panasonic TDA/TDE system, you can use a Digital Key Telephone (Proprietary Telephone) or the UPCMC software. I highly recommend using a digital phone for basic setup, as it’s faster.
Step 1: System Reset
If you are starting from scratch, reset the system to factory defaults. Locate the MPR card switch, slide it to System Initialize, power on the system, and then slide it back to Normal.
Step 2: Entering Programming Mode
Plug a Digital Key Telephone into Jack 01 (Extension 101). Press:
[Program] → [*#1234]
Step 3: Setting the TRS (Toll Restriction)
You need to define who can call out and where. This is called the Class of Service (COS).
- COS 1: Full access (International, Mobile, Local).
- COS 2: International and Local, no premium numbers.
- COS 3: Local only.
- COS 4: Mobile only.
- COS 5: Intercom only (No external calls).
Use code [301] to set the TRS level, and code [602] to assign the COS to a specific extension.
Step 4: Configuring CO Lines (Trunks)
If your PBX supports 8 lines but you only have 4 connected, you must disable the empty ports. Otherwise, the system might try to pick up a dead line when a user makes a call.
Go to [400]. Select the slot and port for the unused line. Press [Auto Ans] until the display shows “No Connect”.
Step 5: Setting Up Incoming Call Distribution
By default, incoming calls ring at extension 101. To change this, use code [450].
Example: [450] → [1] → [01] → [01] → [101] → [Enter]
This sets Time Mode 1 (Day) on Slot 1, Port 1, to ring Extension 101.
Part 3: Advanced Setup – Call Distribution and Grouping
In a real business, you need to route calls to specific departments (Sales, Support, HR).
Creating a Call Distribution Group (Floating Extension)
Use the Floating Extension feature to assign one number to multiple phones. For example, extension 2001 rings 4 different desk phones simultaneously.
1. Go to [3. Group] → [5. Incoming Call Distribution Group].
2. Set the floating extension number (e.g., 2001).
3. Add the member extensions (up to 128 extensions).
Splitting Trunk Lines (Line Assignment)
You might want Line 1 and 2 reserved for the Sales team, and Line 3 for Support.
1. Go to [10. CO & Incoming Call] → [1. CO Line Setting].
2. Assign different CO lines to different Trunk Groups.
3. Go to [2. System] → [7. Class of Service] and assign COS levels that can access specific Trunk Groups.
The Mistake I Made (And How to Avoid It)
When I first programmed a system, I forgot to change the default passwords. Anyone could pick up an extension and reprogram the PBX.
Always change the system password in code [110] and [111]. Also, restrict the programming mode so only the manager’s extension can access it.
If you are setting up a remote team, check out our guide on the best project management software for remote teams to ensure your team stays connected even outside the office.
Final Thoughts on PBX Setup
Learning how to set up a PBX system takes patience, but it’s a valuable skill. Start with the basics: reset, set the TRS levels, and configure the incoming call distribution. Once you understand the numbering plan, everything else becomes much easier.
If you are managing a growing business, you might also want to look at modern VoIP solutions. You can read our comparison of Zoom vs Google Meet vs Microsoft Teams to see how communication technology is evolving.
Have you ever programmed a PBX system? Share your worst mistake in the comments below!